Revisiting Chip-8
It’s been a while since I write emulator projects. While I do want to make more “serious” emulator like NES or GameBoy, I decided to do a warm up project by writing a Chip-8 emulator once more. Here are some interesting things I found and implemented during the development.
Dealing with Flicker
Chip-8 games are by nature flickery. This happens because in original Chip-8 the only way to move a sprite is by clearing screen or erasing the sprite first, and then redraw it at the new position. Since it can only be done in two instructions, it means the erase and the draw instruction may be seperated in different update-draw cycles, thus results in flickering. This is even more pronounced when we consider that the CPU vs display speed ratio of Chip-8 is quite low (500:60 Hz, so 8-9 instructions/draw) and that there are usually several instructions seperating the erase and draw instructions (e.g. for recalculating new sprite position without storing the old one).
There are some ways to deal with this. First, by not dealing with it and let it flicks. This is the easiest method and actually accurate with the behavior of original Chip-8, but I want to do more here. Second, by pooling the draw instruction to be actually drawn only after several instructions later, so that a pair of erase-draw instruction is probably done in one actual draw. I don’t really like this approach since it’s likely hard to get the right timing for every kinds of games or ROMs, and it can introduce visual glitches in some edge cases.
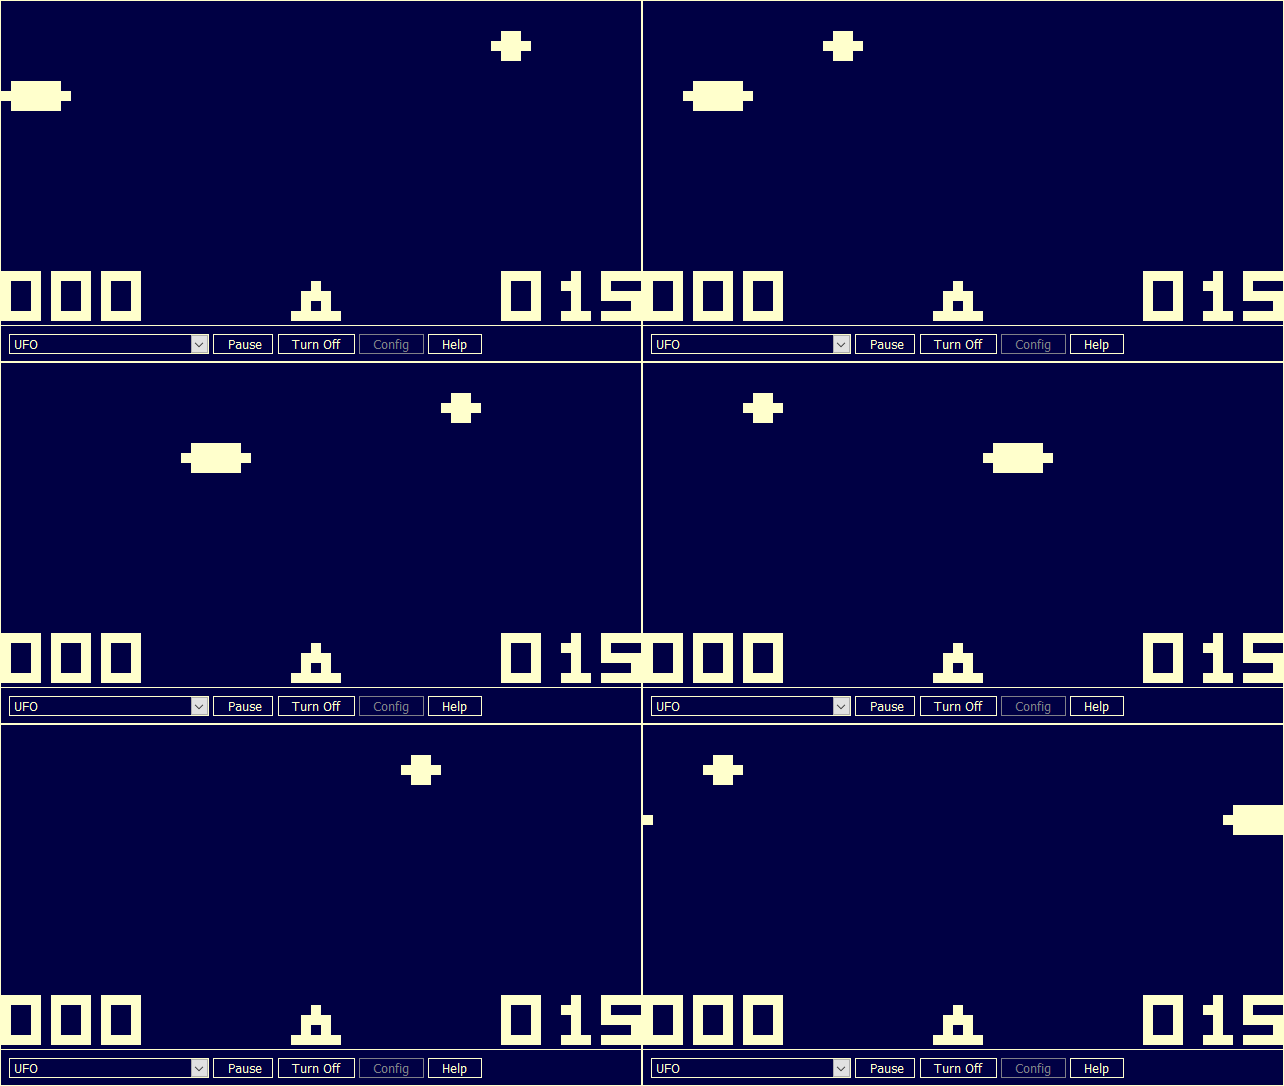
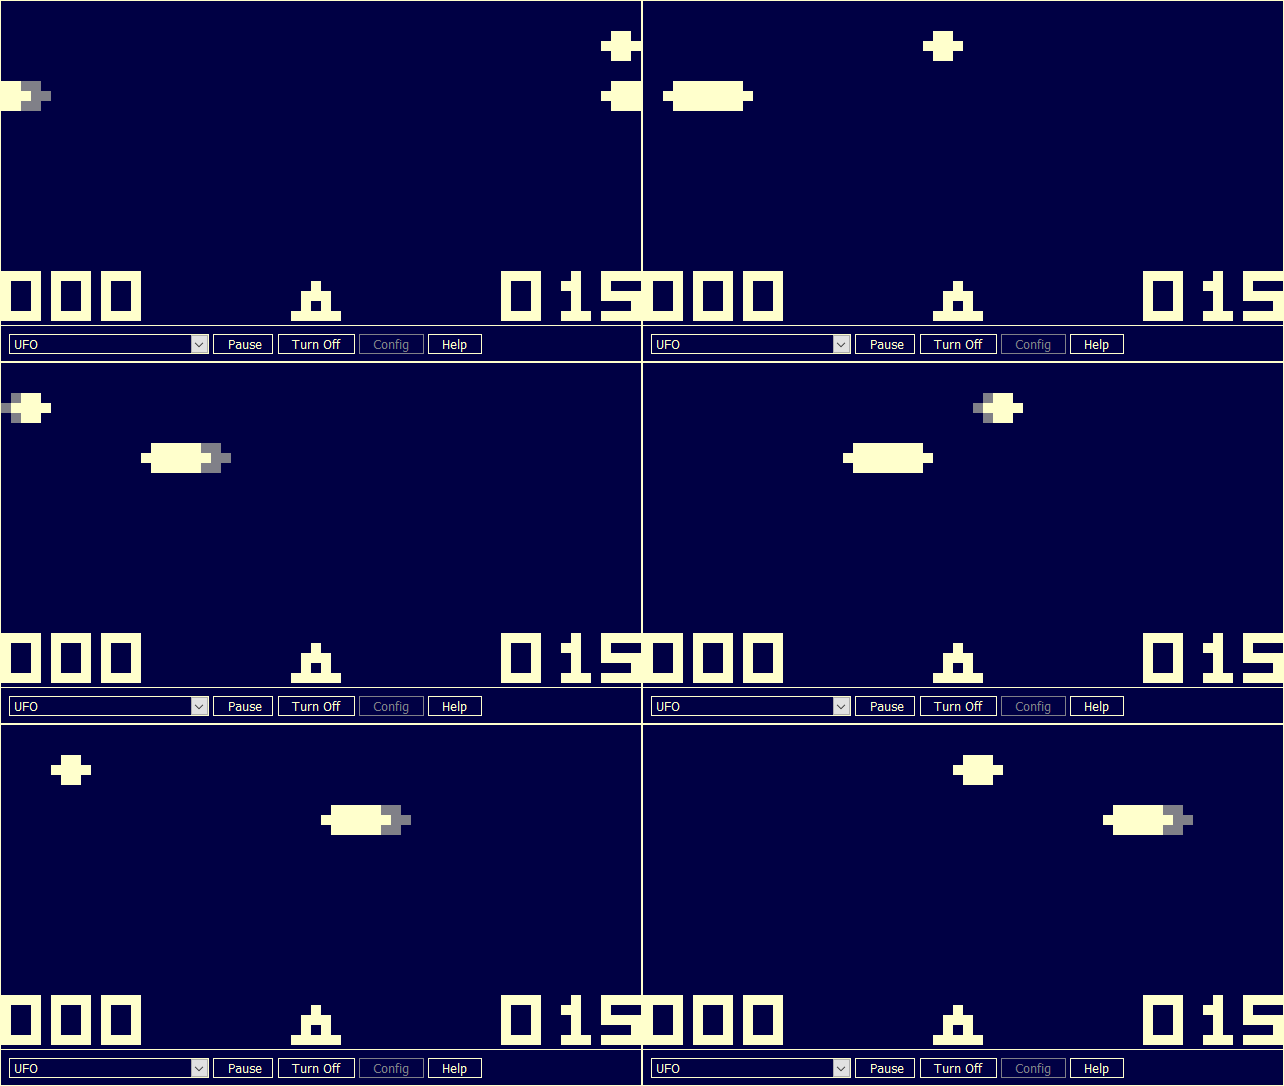
The last method is by simulating the old phosphor screen behavior. Old phosphor screens have light decay time, meaning that when a pixel is turned off from a previously turned on state it still gives off a fading afterglow light for several milliseconds. I like this method since it only changes the behavior of the off pixels and simulates the real screen behavior, so I implemented it. The result quite pleases me.


Implementation Quirks
I used Cowgod’s Chip-8 Reference as my primary reference when I made my previous CHIP-8 project. It turns out that there are some implementation quirks that is documented as the original behavior in the reference, and my old emulator didn’t handle it when games, especially older ones, expect the original behavior. In this project, I handled three prominent quirks that can be toggled on or off by configuration.
-
SHL & SHR instruction quirk
In the original Chip-8, instruction
8xy8SHR and8xyESHL should shift the value of register Vx by value of Vy, so that these instructions are interpreted asVx = Vx >> VyandVx = Vx << Vy. Some newer games mistakenly use this instruction as if it shift Vx by itself, i.e.Vx = Vx >> VxandVx = Vx << Vx. Notable games with this quirky behavior are Tic-Tac-Toe and Space Invaders. -
Load & Store Register instruction quirk
In the original Chip-8, instruction
Fx55andFx65should store/load register the values of V0 to Vx into/from memory starting from address I, and then increment register I by x (I = I + x). Some newer games do not take into account the register I increment, and behaves as if I is not changed by these instructions. Tic-Tac-Toe and Space Invaders also have this quirk. -
Sprite wrapping
The Cowgod’s reference said that a sprite partially drawn outside of display boundary will be wrapped around at the opposite end of the screen. This is not the right behavior. A sprite will be clipped if it’s partially drawn outside of display, but it will be wrapped around if all of the sprite is drawn outside of the display. I’m not really sure if there are any games that depend on sprite wrapping behavior, but I’ll give the option to do so.
Fx0A Wait Key Implementation
There are three instructions related to keypad input read: Ex9E skip if key Vx pressed, ExA1 skip if key Vx
not pressed, and Fx0A wait until key is pressed and store to Vx. Instruction Ex9E and ExA1 is just like that: skip
next instruction if key Vx is pressed / not pressed. For Fx0A however, the description is a bit misleading.
According to this thread
and post, the correct behavior of Fx0A is something like this:
- Stop execution until a key is pressed
- When a key is pressed, store that key temporarily as K if K is not set. Execution is still stopped.
- When key K is released after it was pressed, store K to Vx, unset K and continue execution
Rust to WebAssembly
I wrote my previous CHIP-8 emulator in C compiled to WebAssembly by using Emscripten. I used Rust compiled to WebAssembly in this project, because I always want to try it. The rust-to-wasm compilation is done by using wasm-pack toolkit.
I found the wasm-pack toolkit is quite easy to use. The resulting wasm file can also be integrated and bundled easily using webpack. While I do like parcel more than webpack, unfortunately there are still some integration issues between wasm-pack and parcel, so I just use webpack. Building the project is a two-step process: (1) build the wasm file from Rust using wasm-pack, and (2) bundle the wasm file, Javascript loader, styles, and other files using webpack.
I wrote the CPU and display buffer of the emulator in Rust. However, for the actual I/O parts like drawing the display buffer to canvas, playing beep sound and reading key input, I still use Javascript. I did this because currently WebAssembly can’t access DOM directly without moving some data from and into the WebAssembly memory buffer. While wasm-pack can generate the bridge code easily, I don’t think the required data moving is worth the performance than just directly using Javascript. In contrast, the Javascript code can directly read WebAssembly memory buffer, so it doesn’t need to copy anything. I think this is the best solution until WebAssembly can access DOM directly.
Another advantage of offloading the I/O codes from wasm to Javascript is size. In previous project, I used SDL2 for drawing the canvas, playing beep sound and read key input. While using SDL2 is neat, it results in a big-sized wasm file, since it also includes all the SDL2 library codes. For comparison, my old emulator page size is around 5 MB, whereas the new emulator is under 100 KB.
Closure
It’s been quite a fun revisiting the Chip-8 emulation. At first I wanted to extend the emulator to include SuperChip instructions and increase the overall emulation accuracy, but I decided the effort is best used in more “serious” emulator. I’m sure there are still some edge cases that my emulator can’t handle accurately. For the next emulator, I’m probably going for the original Space Invaders on Taito 8080 arcade system, since it seems quite easier to make than NES or GameBoy.
